
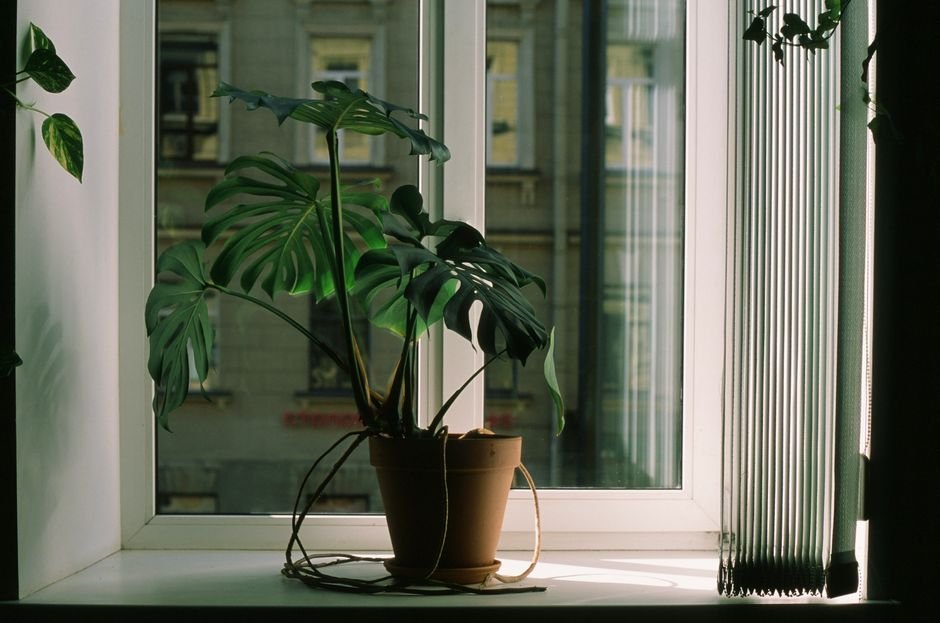

As a seasoned horticulturist and plant enthusiast, I’ve seen countless houseplants struggle, not from neglect, but from a fundamental misunderstanding of their living quarters. One of the most critical, yet often overlooked, aspects of indoor plant care is selecting the correct pot size. Knowing how to choose the right pot size for every houseplant is foundational to fostering robust root systems, preventing common ailments, and encouraging lush, vibrant foliage. Let’s dive deep into this essential topic to ensure your green companions flourish.
Why Pot Size Matters: Understanding Root Health
The pot your houseplant lives in is more than just a decorative container; it’s its entire ecosystem. An incorrectly sized pot can lead to a cascade of problems, impacting everything from nutrient uptake to water retention. A pot that’s too small restricts root growth, making your plant root-bound, which starves it of nutrients and water. Conversely, a pot that’s too large holds excessive moisture, leading to dreaded root rot – a silent killer for many houseplants. Proper pot sizing ensures a healthy balance, providing adequate space for roots to grow without overwhelming them with too much soil, which can take too long to dry out. This balance is key for oxygen exchange at the root level, preventing anaerobic conditions that promote harmful bacteria and fungi.
Signs Your Houseplant Needs a New Pot (or a Smaller One)
Your plants communicate their needs, and understanding these signals is crucial for timely repotting. Learning to read these signs will save you from many common plant care pitfalls.
When to Upsize: Signs of Root-Bound Plants
- Roots Emerging: You might see roots growing out of the drainage holes at the bottom of the pot, or even visible on the soil surface.
- Watering Frequency: The plant requires watering much more frequently than before, and the soil dries out almost immediately after watering.
- Stunted Growth: Despite adequate light and fertilizer, the plant’s growth has slowed significantly or completely stopped.
- Wilting Leaves: Even after watering, leaves might wilt quickly, indicating the roots can’t absorb enough moisture.
- Pot Distortion: In plastic pots, the pot itself might begin to bulge or crack due to root pressure.
When to Downsize: Signs of Overwatering Issues
- Persistent Wet Soil: The soil stays soggy for an extended period after watering, taking weeks to dry out. This is where a reliable moisture meter, like the XLUX T10, can be incredibly helpful to accurately gauge soil moisture deep within the pot.
- Yellowing Leaves & Dropping: Lower leaves turn yellow and drop off, a classic sign of overwatering and root rot.
- Foul Odor: A musty or rotten smell emanating from the soil indicates anaerobic conditions and decaying roots.
- Fungus Gnats: Persistent presence of these small flies often signifies overly moist soil conditions.
The Golden Rules of Pot Sizing: A Practical Guide
When it’s time to repot, the general rule of thumb is to go up only one size. For example, if your plant is in a 6-inch pot, move it to an 8-inch pot. Jumping to a significantly larger pot can overwhelm the root system, increasing the risk of overwatering. For most houseplants, a pot that is 1-2 inches larger in diameter than the current one is ideal.
Matching Pot Size to Plant Type
- Fast Growers (e.g., Pothos, Philodendron): These plants benefit from a slightly larger jump (e.g., 2 inches) every 12-18 months.
- Slow Growers (e.g., Snake Plants, ZZ Plants): These prefer to be root-bound and can stay in the same pot for several years, only needing a 1-inch increase when repotting.
- Succulents & Cacti: These thrive in smaller pots that dry out quickly. Often, their pot size should closely match the diameter of their root ball, with just an inch or so of extra space.
- Large Plants (e.g., Fiddle Leaf Fig, Monstera): For mature plants, you might only need to go up 2-4 inches in diameter every 2-3 years, or simply refresh the topsoil and prune roots.
Potting Materials: Beyond Just Size
While size is paramount, the material of your pot also plays a significant role in moisture retention and root health.
- Terracotta/Unglazed Ceramic: These porous materials allow air and moisture to pass through, promoting faster drying of the soil. Excellent for plants prone to overwatering, like succulents, cacti, and many aroids. You might need to water more frequently.
- Plastic: Lightweight, inexpensive, and retains moisture well. Ideal for plants that prefer consistently moist soil, like ferns or calatheas. Just be cautious with watering to prevent sogginess. Many nurseries use plastic pots for this reason, and they are great for grow lights setups.
- Glazed Ceramic: Retains moisture similarly to plastic but offers a more decorative aesthetic. Ensure it has adequate drainage holes.
- Fabric Grow Bags: Excellent for aeration and preventing root circling, promoting a fibrous root system. They dry out faster than plastic pots.
Regardless of material, always ensure your chosen pot has drainage holes. This is non-negotiable for houseplant health.
The Repotting Process: Step-by-Step Success
Once you’ve identified the need and chosen the right pot, the repotting process itself is straightforward.
- Gather Your Supplies: New pot (1-2 inches larger), fresh potting mix (e.g., FoxFarm Ocean Forest or Espoma Organic Potting Mix, tailored to your plant’s needs), pruning shears (sterilized), and gloves.
- Prepare the Pot: If using a terracotta pot, soak it in water for 15-30 minutes to prevent it from wicking moisture from the fresh soil. Add a layer of fresh potting mix to the bottom of the new pot, enough so that when the plant is placed, the top of its root ball is about an inch below the rim.
- Remove the Plant: Gently lay the current pot on its side and carefully slide the plant out. If it’s stuck, you may need to gently squeeze the pot or run a knife around the edge. Avoid pulling the plant by its stem.
- Inspect and Loosen Roots: Gently tease apart any circling or compacted roots at the bottom and sides of the root ball. You can prune away any dead, mushy, or excessively long roots.
- Place and Fill: Center the plant in its new pot. Fill around the root ball with fresh potting mix, gently tamping it down to remove large air pockets. Ensure the soil level is consistent with the plant’s original level and about an inch below the pot’s rim, leaving space for watering.
- Water Thoroughly: Water the plant immediately after repotting until water drains from the bottom. This helps settle the soil and rehydrate the roots. You might add a diluted liquid fertilizer like Liqui-Dirt or Dyna-Gro if your plant is actively growing.
- Post-Repotting Care: Place the plant in a slightly shadier spot for a week or two to help it recover from the shock before returning it to its usual location. Avoid fertilizing for a month if your potting mix already contains nutrients.
Houseplant Care Overview Table
Understanding general care requirements can also inform your pot size decisions, as some plants prefer to dry out more than others.
| Plant | Light | Water | Humidity | Soil | Temperature |
|---|---|---|---|---|---|
| Pothos (Epipremnum aureum) | Low to Medium Indirect | Allow top 1-2″ to dry | Average (40-60%) | Well-draining, all-purpose | 65-85°F (18-29°C) |
| Snake Plant (Sansevieria trifasciata) | Low to Bright Indirect | Allow soil to dry completely | Low (30-40%) | Cactus/Succulent mix | 65-90°F (18-32°C) |
| Fiddle Leaf Fig (Ficus lyrata) | Bright Indirect | Allow top 2-3″ to dry | Moderate to High (60%+) | Well-draining, rich | 60-80°F (15-27°C) |
| ZZ Plant (Zamioculcas zamiifolia) | Low to Bright Indirect | Allow soil to dry completely | Low to Average (30-50%) | Well-draining, all-purpose | 65-80°F (18-27°C) |
| Monstera Deliciosa | Bright Indirect | Allow top 2-3″ to dry | Moderate to High (60%+) | Chunky, well-draining | 65-85°F (18-29°C) |
Frequently Asked Questions About Pot Size
Can I put a small plant in a very large pot?
While it might seem like giving your plant plenty of space is beneficial, placing a small plant in a very large pot is generally not recommended. A large volume of soil will retain too much moisture for the small root system, significantly increasing the risk of overwatering and root rot. It’s best to go up only one or two pot sizes at a time.
How do I know if a pot is too big for my houseplant?
Signs of a pot being too big include the soil staying consistently wet for a long time after watering (often weeks), yellowing lower leaves, stunted growth despite regular care, and sometimes a musty odor from the soil. If you suspect your pot is too large, consider repotting into a smaller container with fresh, well-draining soil.
What is the best pot material for most houseplants?
There isn’t a single ‘best’ material; it depends on the plant’s needs and your watering habits. Terracotta pots are excellent for plants that prefer to dry out quickly (e.g., succulents, cacti, snake plants) because they are porous. Plastic pots retain moisture longer, making them suitable for plants that prefer consistently moist soil (e.g., ferns, calatheas). Always prioritize pots with drainage holes, regardless of material.
How often should I repot my houseplants?
The frequency of repotting varies greatly by plant species and growth rate. Fast-growing plants like Pothos or many tropicals might need repotting every 12-18 months. Slower growers like ZZ plants or cacti might only need it every 2-3 years, or even less frequently. The key is to observe the signs of being root-bound or pot-bound, rather than sticking to a strict schedule.
Should I water my plant immediately after repotting?
Yes, it’s generally recommended to water your plant thoroughly immediately after repotting. This helps settle the new soil around the roots, removes any air pockets, and rehydrates the plant after the stress of the repotting process. Ensure water drains freely from the bottom of the pot. If your new potting mix contains slow-release fertilizer, you might skip additional feeding for a few weeks.
Mastering pot size selection is a game-changer for houseplant enthusiasts. By understanding your plant’s needs, recognizing the signs of distress, and following these guidelines, you’ll cultivate a thriving indoor jungle. Happy planting!