
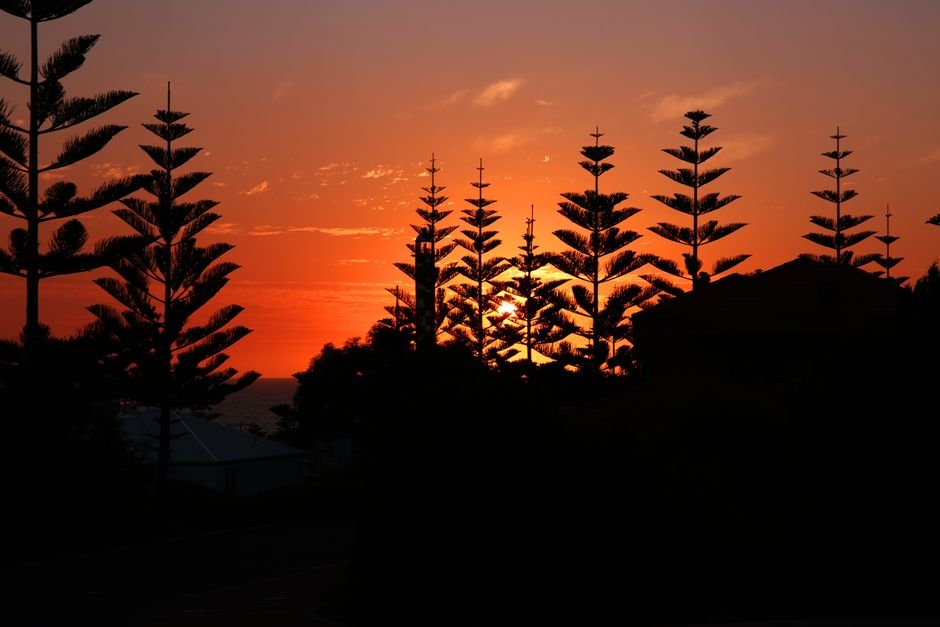

The Norfolk Island Pine (Araucaria heterophylla) stands as a testament to nature’s elegance, gracing homes across the United States as a cherished houseplant, especially during the holiday season. Often adopted as a living Christmas tree, its symmetrical tiers of soft, green needles offer a sophisticated alternative to traditional evergreens. But beyond its festive appeal, successful Norfolk Island Pine care ensures this tropical conifer thrives year-round, bringing a touch of the South Pacific into your living space. As a horticulturist and fellow plant enthusiast, I’m here to guide you through the nuanced needs of this magnificent specimen, ensuring it remains vibrant and healthy for years to come.
Understanding Your Norfolk Island Pine’s Native Habitat
To truly master the care of your Norfolk Island Pine, it’s essential to understand its origins. Native to Norfolk Island, a small subtropical island in the Pacific Ocean between Australia and New Zealand, this tree naturally experiences high humidity, consistent temperatures, and bright, filtered sunlight. While it can reach impressive heights of over 100 feet in its native environment, indoors it typically grows to a manageable 6-8 feet, making it a perfect living accent. In the US, it’s only hardy outdoors in USDA Zones 10-11, meaning for most of us, it’s strictly an indoor plant, requiring us to recreate a semblance of its natural conditions.
Light Requirements: The Foundation of Vigorous Growth
Providing adequate light is perhaps the most critical aspect of Norfolk Island Pine care. These plants crave bright, indirect light for at least 4-6 hours daily. A spot near an east-facing window or a few feet back from a south or west-facing window, where it receives ample light without direct, scorching sun, is ideal. Insufficient light will lead to sparse, elongated growth and a weakened plant, while too much direct sun can scorch its delicate needles, turning them yellow or brown.
Seasonal Adjustments for Optimal Light
During winter months, when natural light is scarce, your Norfolk Island Pine may benefit from a slightly brighter spot, even tolerating a few hours of direct morning sun. Consider supplementing with a full-spectrum grow light, such as a Sansi 15W LED grow light (around $25-30 on Amazon), placed a few feet above the plant for 10-12 hours a day. In contrast, during intense summer heat, ensure it’s protected from harsh afternoon sun, which can cause stress and damage.
Watering and Humidity: Mimicking a Tropical Climate
Consistent moisture and high humidity are non-negotiable for a happy Norfolk Island Pine. These plants do not tolerate drying out completely, nor do they appreciate sitting in soggy soil. The key is to keep the soil consistently moist but never waterlogged.
Preventing Common Water-Related Issues
Water thoroughly when the top inch or two of soil feels dry to the touch. A reliable soil moisture meter, like the XLUX T10 (typically $12-15), can help you accurately gauge moisture levels, preventing both over and under-watering. Ensure your pot has excellent drainage to prevent root rot, which is often fatal. Water less frequently in winter when the plant’s growth slows. Brown, crispy needle tips are a tell-tale sign of low humidity. To combat this, consider placing your plant on a pebble tray filled with water, grouping it with other plants, or investing in a small room humidifier. A LEVOIT Classic 300S humidifier (around $70-80) can significantly boost ambient humidity, creating a more favorable environment for your pine.
Soil, Fertilization, and Potting Up: Nurturing Your Evergreen
The right growing medium and thoughtful feeding schedule will support your Norfolk Island Pine’s long-term health.
Choosing the Right Soil and Fertilizer
Norfolk Island Pines prefer a well-draining, slightly acidic soil mix. A good quality potting mix designed for houseplants, amended with extra perlite or pine bark for improved drainage, works well. Look for brands like Espoma Organic Potting Mix (approximately $10-15 for a 16qt bag), which provides a solid base. Fertilize sparingly during the active growing season (spring and summer) with a balanced liquid houseplant fertilizer, diluted to half strength, once every 2-4 weeks. Avoid fertilizing in fall and winter when the plant is dormant. A general-purpose fertilizer like Schultz Plant Food Plus 10-15-10 (around $5-8) is a good option.
Repotting Your Norfolk Island Pine
These plants don’t mind being slightly root-bound, so repotting is typically only needed every 2-3 years, or when roots begin to emerge from the drainage holes. When you do repot, choose a pot only one size larger than the current one to prevent excess soil from retaining too much moisture, which can lead to root rot. Spring is the best time for repotting.
- Gather your materials: new pot (one size larger, with drainage holes), fresh well-draining potting mix, and gloves.
- Gently remove the pine from its current pot. You may need to loosen the root ball with your fingers.
- Inspect the roots, trimming any that are brown, mushy, or circling excessively.
- Add a layer of fresh potting mix to the bottom of the new pot.
- Center the pine in the new pot, ensuring the base of the trunk is at the same level as it was in the old pot.
- Fill around the root ball with more potting mix, gently tamping it down to remove air pockets.
- Water thoroughly until water drains from the bottom.
- Place the repotted pine back in its preferred light location.
Pruning, Pests, and Common Challenges
Norfolk Island Pines require minimal pruning. Their natural, tiered growth habit is part of their charm, and cutting the central leader (the main stem at the top) will stop vertical growth and can ruin its classic pyramidal shape. Only remove any dead, yellowed, or damaged branches using clean, sharp shears. Be aware that once a lower branch turns brown and dies, it will not grow back.
Keep an eye out for common houseplant pests like spider mites and mealybugs, especially in dry conditions. Inspect your plant regularly, particularly the undersides of the needles. If you spot pests, isolate your plant and treat it with insecticidal soap or neem oil, following product instructions carefully. Brown needle tips are almost always a sign of low humidity, while yellowing lower branches can indicate overwatering or nutrient deficiency. Drooping branches might signal either too little or too much water – check the soil moisture carefully.
Norfolk Island Pine Care at a Glance
| Care Aspect | Requirement |
|---|---|
| Light | Bright, indirect light (4-6 hours daily); rotate regularly. |
| Water | Keep soil consistently moist, but not soggy. Water when top 1-2 inches are dry. |
| Humidity | High (50% or more). Use pebble trays, humidifiers, or misting. |
| Soil | Well-draining, slightly acidic potting mix with added perlite/pine bark. |
| Temperature | Average room temperature (65-75°F / 18-24°C). Avoid drafts. |
Frequently Asked Questions About Norfolk Island Pine Care
Why are the needles on my Norfolk Island Pine turning brown and crispy?
Brown, crispy needles are almost always a symptom of low humidity. Norfolk Island Pines are tropical plants that thrive in humid environments. Increase humidity around your plant using a humidifier, pebble tray, or by grouping it with other plants. Underwatering can also contribute, so ensure consistent soil moisture.
Can I place my Norfolk Island Pine outdoors during the summer?
Yes, you can! If you live in a region with warm summer temperatures (above 50°F / 10°C), your Norfolk Island Pine will enjoy spending time outdoors. Place it in a location with bright, indirect light, similar to its indoor requirements, protected from harsh afternoon sun and strong winds. Bring it back indoors before temperatures drop below 50°F (10°C) in the fall.
Is the Norfolk Island Pine toxic to pets?
While generally considered mildly toxic, ingesting parts of the Norfolk Island Pine can cause mild gastrointestinal upset (vomiting, diarrhea) in pets. It’s best to keep the plant out of reach of curious cats and dogs, especially if they have a history of chewing on houseplants. Always consult a veterinarian if you suspect your pet has ingested a significant amount.
How large will my Norfolk Island Pine grow indoors?
Indoors, with proper Norfolk Island Pine care, these trees typically reach a height of 6 to 8 feet, though some can grow taller over many years. Their ultimate size is influenced by pot size, light availability, and overall care. They are relatively slow growers, gaining about 6 inches to a foot in height per year.
Why is my Norfolk Island Pine leaning to one side?
A leaning Norfolk Island Pine is usually reaching for a light source. To encourage even growth, rotate your plant 90 degrees every few weeks. This ensures all sides receive adequate light and helps maintain its symmetrical shape. If the lean is severe, it might also indicate insufficient light overall.
With consistent attention to its unique needs for light, water, and humidity, your Norfolk Island Pine will flourish, serving as a magnificent, living centerpiece in your home. Its timeless beauty and evergreen presence offer a continuous connection to nature, long after the holiday decorations are put away. Embrace the journey of caring for this remarkable plant, and it will reward you with enduring elegance and a touch of the tropics, year-round.