
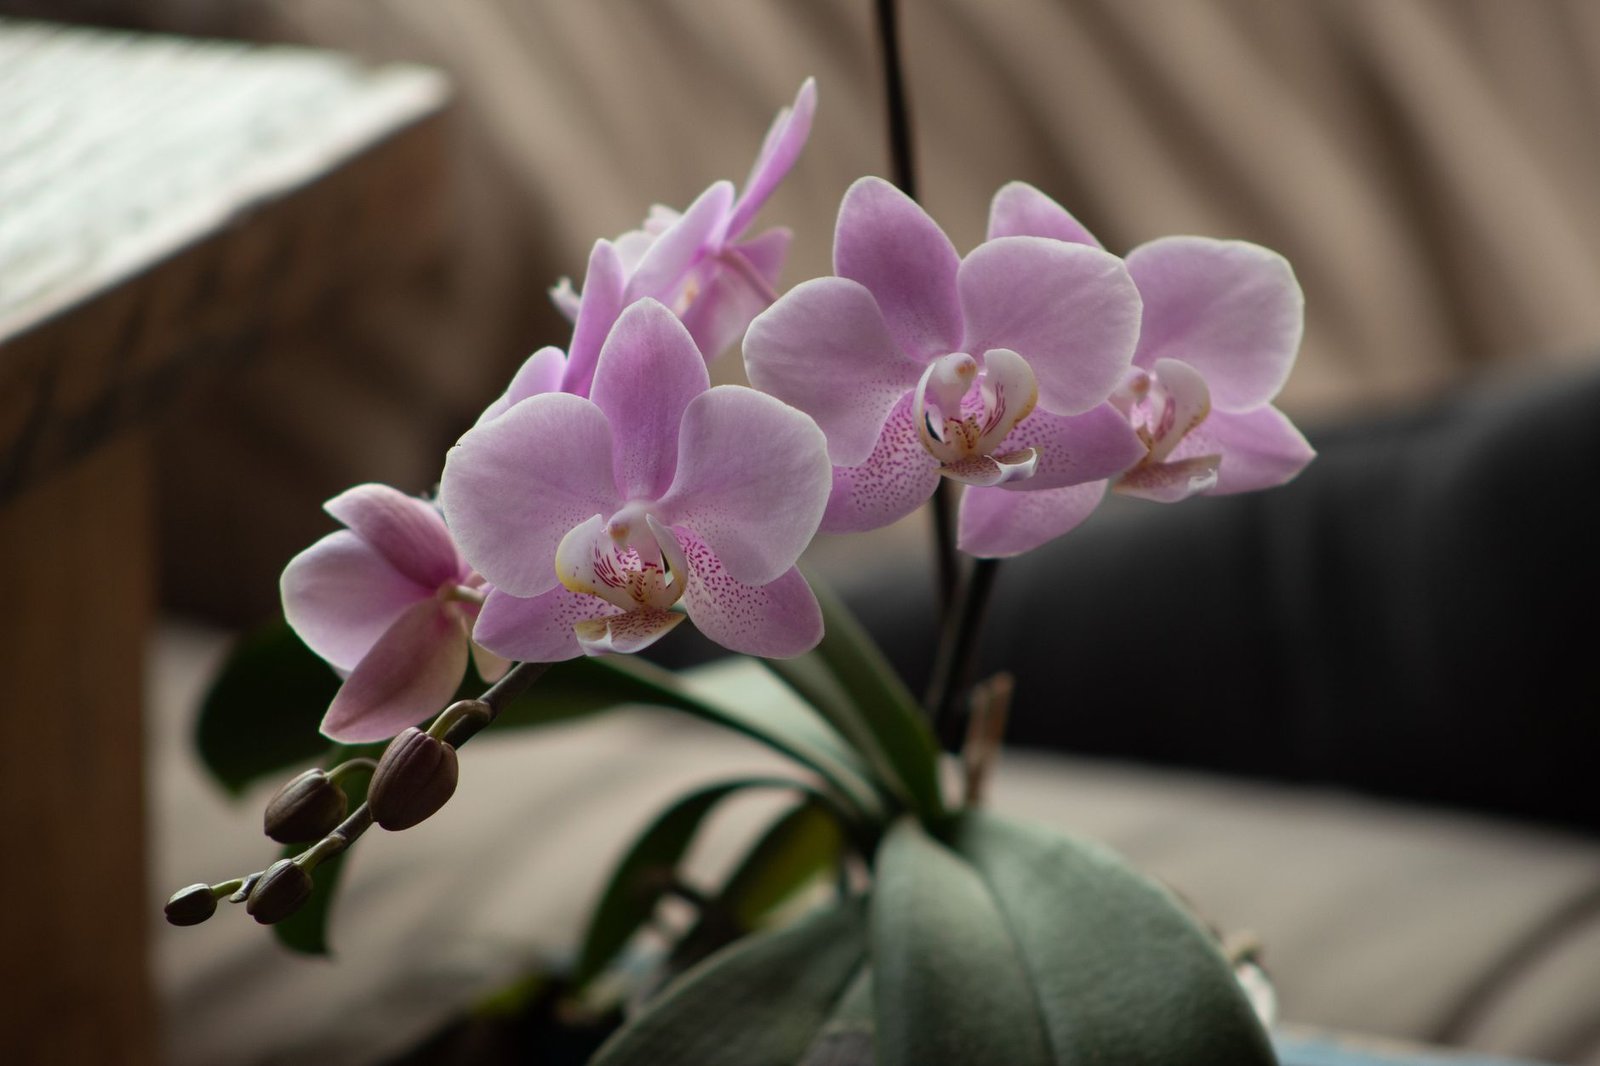

So, you’ve been captivated by the elegant beauty of a Phalaenopsis orchid, also known as the moth orchid, and decided to bring one (or maybe several!) into your home. Excellent choice! Phalaenopsis orchids are among the easiest orchids to care for, making them perfect for beginners. But even these relatively low-maintenance beauties have specific needs. This comprehensive guide will walk you through everything you need to know about Phalaenopsis orchid care, from understanding their unique growth habits to troubleshooting common problems. We’ll cover watering, lighting, fertilizing, repotting, and more, ensuring your orchid thrives and graces your home with its stunning blooms for years to come.
Understanding Phalaenopsis Orchids
Before diving into the nitty-gritty of care, let’s understand a bit about these fascinating plants. Phalaenopsis orchids are epiphytes, meaning they naturally grow on trees in tropical rainforests, rather than in soil. They use their roots to anchor themselves to branches and absorb moisture and nutrients from the air and rainwater. This is a crucial point to remember when it comes to watering and potting mix!
Native to Southeast Asia, these orchids are well-suited to indoor environments in the US, especially since most homes offer the warmer temperatures they prefer. They are not cold-hardy and will not survive outdoors in most US climate zones, typically thriving indoors between USDA zones 9-11. Understanding their natural habitat is key to replicating the conditions they need to flourish.
Identifying a Healthy Orchid
When selecting a Phalaenopsis orchid, look for signs of good health. The leaves should be firm, green, and free from spots or blemishes. The roots, which are often visible in the clear plastic pot, should be plump and silvery-green (when dry) or green (when wet). Avoid plants with shriveled, brown, or mushy roots, as this indicates overwatering or root rot. The flower spike should be sturdy and have several unopened buds, promising a long bloom time.
Common Phalaenopsis Varieties
While most Phalaenopsis orchids share similar care requirements, there’s a delightful variety of colors and sizes to choose from. You’ll find everything from classic white and pink to vibrant yellows, oranges, and even spotted patterns. Some popular varieties include ‘Big White’, ‘Pink Cascade’, and ‘Harlequin’ orchids with their unique speckled petals. Don’t be afraid to experiment and find the varieties that appeal to you most!
Light and Temperature Requirements
Phalaenopsis orchids need bright, indirect light. Think of the light they would receive filtering through the canopy of a rainforest. Direct sunlight can scorch their leaves, so avoid placing them in a south-facing window without some form of shading. An east- or west-facing window is usually ideal. You can also use a sheer curtain to diffuse the light from a south-facing window.
If your orchid isn’t getting enough light, it may not bloom or the leaves may become dark green. Conversely, if the leaves are reddish or yellow, it’s likely getting too much light. Consider using a light meter to measure the light intensity. You can also supplement natural light with a grow light, especially during the darker winter months. Many affordable LED grow lights are available on Amazon and at local garden centers.
Temperature is also important. Phalaenopsis orchids prefer daytime temperatures between 70-80°F (21-27°C) and nighttime temperatures between 60-70°F (15-21°C). A slight drop in temperature at night can actually encourage blooming. Avoid placing your orchid near drafts or heating vents, as this can cause temperature fluctuations and dry out the plant.
Watering and Humidity
Watering is perhaps the most crucial aspect of Phalaenopsis orchid care, and it’s where many beginners make mistakes. Overwatering is a common killer. Remember, these orchids are epiphytes and their roots need air circulation. Allow the potting mix to dry out almost completely between waterings. A good rule of thumb is to water every 1-2 weeks, but this will vary depending on the humidity and temperature in your home.
The best way to water is to soak the pot thoroughly in a sink or bucket of water for about 15-20 minutes, allowing the potting mix to become fully saturated. Then, let all the excess water drain out completely. Never let the orchid sit in standing water, as this will lead to root rot. You can also use a moisture meter, like the ones from Luster Leaf, to gauge the moisture level in the potting mix. Insert the probe into the mix, and the meter will give you a reading. Water only when the meter indicates dry.
Humidity is also important for Phalaenopsis orchids. They thrive in humidity levels between 50-70%. If your home is dry, especially during the winter months, you can increase humidity by placing the orchid on a tray filled with pebbles and water (making sure the pot isn’t sitting directly in the water), using a humidifier, or grouping plants together. Misting the leaves can also help, but make sure the leaves dry quickly to prevent fungal diseases.
Potting Mix and Repotting
Since Phalaenopsis orchids are epiphytes, they need a well-draining potting mix that allows for plenty of air circulation around the roots. Regular potting soil will suffocate the roots and lead to root rot. Use a specialized orchid potting mix, which typically consists of bark chips, perlite, and sometimes sphagnum moss. Brands like Better-Gro Orchid Bark Mix are readily available at garden centers and online.
Repotting is necessary every 1-2 years, or when the potting mix starts to break down. The best time to repot is after the orchid has finished blooming. Gently remove the orchid from its pot, being careful not to damage the roots. Remove as much of the old potting mix as possible, and trim away any dead or rotten roots. Choose a new pot that is only slightly larger than the previous one, and repot the orchid with fresh orchid potting mix. Water thoroughly after repotting.
Choosing the Right Pot
When repotting, select a pot with good drainage. Many orchid pots have slits or holes in the sides to allow for even more air circulation. Clear plastic pots are also beneficial because they allow you to monitor the health of the roots. You can then place the clear plastic pot inside a decorative pot if you prefer.
Step-by-Step Repotting Guide
- Gather your supplies: orchid potting mix, a new pot, scissors or pruning shears, and gloves (optional).
- Gently remove the orchid from its old pot.
- Carefully remove as much of the old potting mix as possible, untangling the roots as needed.
- Inspect the roots and trim away any dead, mushy, or brown roots with clean scissors or pruning shears.
- Place a layer of fresh orchid potting mix in the bottom of the new pot.
- Position the orchid in the center of the pot and fill in around the roots with more potting mix, gently pressing down to secure the plant.
- Water thoroughly after repotting.
Fertilizing and Encouraging Blooms
Phalaenopsis orchids need regular fertilizing to thrive and produce beautiful blooms. Use a balanced orchid fertilizer, such as a 20-20-20 formula, diluted to half strength. Fertilize every 2-4 weeks during the growing season (spring and summer), and less frequently during the dormant season (fall and winter). Avoid over-fertilizing, as this can burn the roots.
To encourage blooming, provide your orchid with the right amount of light and a slight drop in temperature at night. After the flowers have faded, you can cut the flower spike back to just above a node (a small bump on the stem). This may encourage the plant to produce a new flower spike. Alternatively, you can cut the spike off completely at the base of the plant. This will allow the plant to focus its energy on growing new leaves and roots.
Some fertilizers are specifically formulated for orchids and can be found at your local garden center. Look for brands like Miracle-Gro Orchid Food or Schultz Orchid Food. These fertilizers are designed to provide the specific nutrients that orchids need.
Phalaenopsis Orchid Care Summary
| Care Requirement | Details |
|---|---|
| Light | Bright, indirect light. Avoid direct sunlight. |
| Water | Water every 1-2 weeks, allowing the potting mix to dry out almost completely between waterings. |
| Humidity | 50-70%. Increase humidity with a pebble tray, humidifier, or by grouping plants together. |
| Potting Mix | Specialized orchid potting mix (bark chips, perlite, sphagnum moss). |
| Temperature | Daytime: 70-80°F (21-27°C). Nighttime: 60-70°F (15-21°C). |
Frequently Asked Questions (FAQs)
Why are my Phalaenopsis orchid’s leaves turning yellow?
Yellowing leaves can be caused by several factors, including overwatering, underwatering, too much sunlight, or nutrient deficiencies. Check the moisture level of the potting mix and adjust your watering accordingly. Make sure the orchid is not getting direct sunlight, and fertilize regularly with a balanced orchid fertilizer.
My orchid is not blooming. What can I do?
Lack of blooming can be caused by insufficient light, improper temperature, or lack of fertilizer. Make sure your orchid is getting bright, indirect light and a slight drop in temperature at night. Fertilize regularly during the growing season. Also, ensure the plant is not root-bound and repot if necessary.
What are those aerial roots growing out of the pot?
Aerial roots are a natural part of Phalaenopsis orchids. They are used to absorb moisture and nutrients from the air. You can leave them as they are, or you can gently tuck them back into the pot during repotting. Do not cut them off, as this can harm the plant.
How do I treat root rot?
Root rot is caused by overwatering and poor drainage. If you suspect root rot, remove the orchid from its pot and carefully inspect the roots. Trim away any dead, mushy, or brown roots with clean scissors or pruning shears. Repot the orchid with fresh orchid potting mix in a pot with good drainage. Water sparingly until the plant recovers.
Can I propagate my Phalaenopsis orchid?
Phalaenopsis orchids are typically propagated through keikis, which are small plantlets that sometimes grow on the flower spike. Once the keiki has developed its own roots, you can carefully remove it from the mother plant and pot it in its own pot. Propagation from seed is possible but requires specialized equipment and knowledge.