
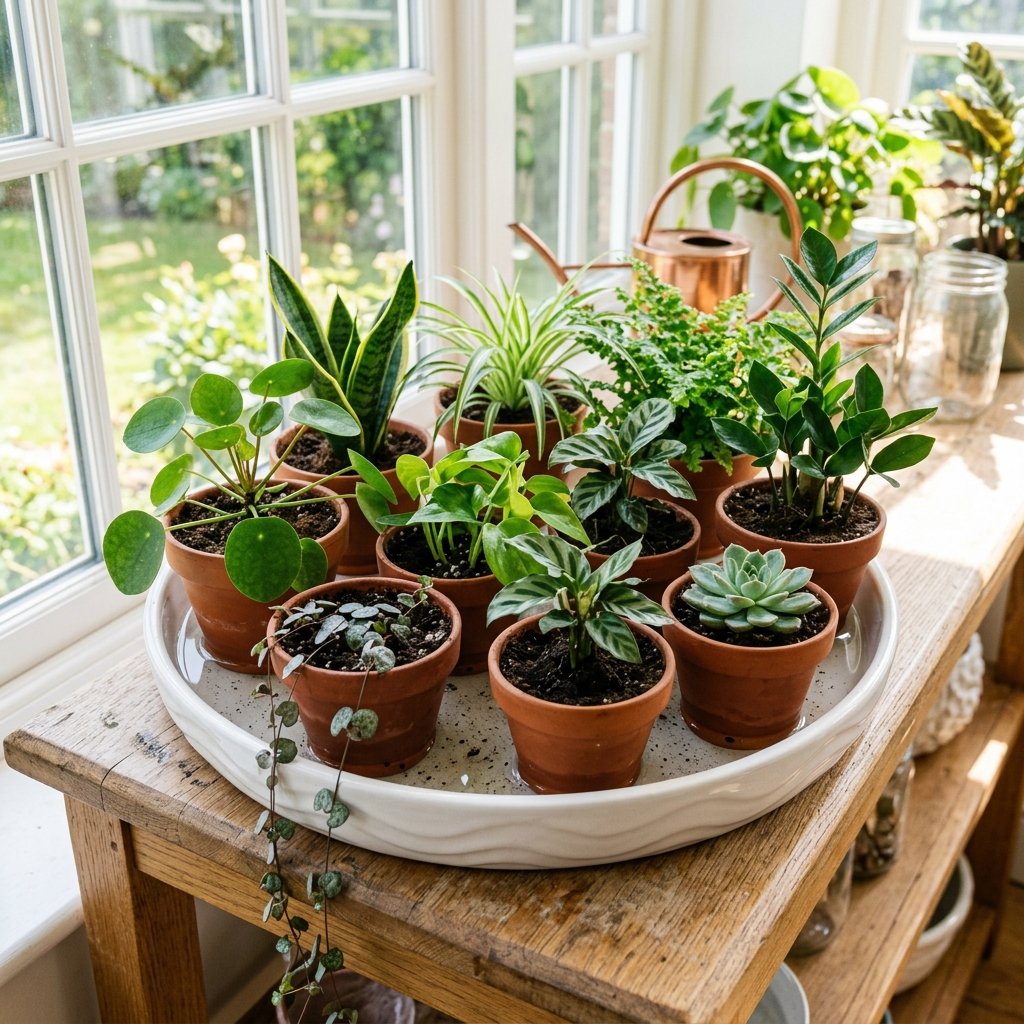

The promise is incredibly alluring: buy a beautiful plastic pot with a water reservoir at the bottom, fill it up once a month, and the pot will perfectly “self-water” your plants while you go on vacation. High-end brands like Lechuza have built empires on this premise. But if used incorrectly, Self-Watering Pots are mass graves for tropical houseplants.
How Sub-Irrigation Planters Work
These pots feature a separate water chamber at the base and a wicking system (either a cotton rope or a hollow leg filled with soil) that bridges the water reservoir to the main soil chamber. Through capillary action, the soil sucks the water up as it dries out, hypothetically maintaining perfect moisture.
The Lethal Flaw: Soil Engineering
- If you use standard, peat-heavy potting soil in a self-watering pot, the capillary action is TOO strong. The dense peat moss acts like a hyper-absorbent sponge.
- It will pull so much water out of the reservoir that it entirely displaces all the oxygen in the pot. Within two weeks, the soil turns into an anaerobic mud pit, suffocating the roots entirely.
The Secret to Success: Inorganic Substrates
You cannot use soil. If you want a self-watering pot to function, you must use a rocky, semi-hydroponic substrate like Lechuza Pon, LECA, or pure pumice. Because these substrates are incredibly airy and do not compress, the capillary action provides the perfect amount of humidity to the root zone while leaving 50% of the volume open for pure oxygen flow.
The Top-Down Watering Phase
Another massive mistake beginners make is immediately filling the reservoir after placing a new plant in the pot. A plant’s roots must physically grow DOWN the pot to reach the moisture zone. For the first two months, you must top-water the plant normally and leave the reservoir completely empty. Only once the roots have established themselves deep into the pot can you transition to filling the reservoir.
Conclusion
Self-watering pots are not magic tools that fix bad watering habits; they are highly advanced hydroponic systems that require a deep understanding of capillary physics and substrate engineering. Master the substrate, and you unlock true automation.
The 2026 Comprehensive Masterclass: Botanical Deep Dive
To truly understand the nuances of the concepts discussed above, we must transition from basic houseplant care to advanced botanical mechanics. Elite plant collectors do not rely on guesswork; they rely on environmental control, photobiology, and soil chemistry. In this masterclass section, we will systematically unpack the advanced science necessary to maintain a hyper-optimized indoor jungle.
Part 1: The Physics of Lighting and Photobiology
Lighting is the fundamental engine of biological growth. Without adequate Daily Light Integral (DLI) and Photosynthetic Photon Flux Density (PPFD), any adjustments made to watering or fertilizing are entirely useless. When you place a plant in a corner, you are not just dimming its environment; you are actively starving it.
Understanding PAR and PPFD
Photosynthetically Active Radiation (PAR) designates the spectral range (wave band) of solar radiation from 400 to 700 nanometers that photosynthetic organisms are able to use in the process of photosynthesis. PPFD measures the amount of PAR that actually arrives at the plant. It is measured in micromoles per square meter per second (μmol/m²/s).
- Low-Light Plants (e.g., Snake Plants, ZZ Plants): Require a PPFD of 20 to 50 μmol/m²/s. While they survive here, they will rarely trigger massive new growth.
- Medium-Light Plants (e.g., Calatheas, Philodendrons): Require a PPFD of 50 to 150 μmol/m²/s. At this range, they begin to express deeper variegation colors and stronger petiole rigidity.
- High-Light Plants (e.g., Monsteras, Ficus, Cacti): Require a baseline of 200 to 400+ μmol/m²/s to exhibit maximum fenestration (leaf holes) and secondary branching.
Part 2: Soil Chemistry, CEC, and Hydrophobicity
Your potting mix is not just a physical anchor for your plant; it is a bio-active chemical reactor. The most critical metric in any soil mix is its Cation Exchange Capacity (CEC).
Cation Exchange Capacity Explained
CEC is the measure of a soil’s ability to hold and release various elements and compounds through electrical charges. Highly organic materials like Peat Moss and Coco Coir have a very high CEC, meaning they grab onto fertilizer molecules (like Nitrates and Phosphates) and hold them so the roots can slowly feed over time. This is why placing a plant purely in gravel (which has a CEC of nearly zero) requires constant, daily nutrient flushing (hydroponics).
The Hydrophobic Death Trap
When high-CEC soils, particularly peat moss, dry out entirely, they undergo a mechanical failure known as hydrophobicity. The organic fibers shrink and lock tightly together. When water is introduced, the surface tension is too high to penetrate the locked fibers. The water channels directly down the sides of the pot. To break the hydrophobic barrier, you must use a surfactant (like a mild dish soap solution) or submerge the pot entirely for 45 minutes to force capillary hydration upward against gravity.
Part 3: Advanced Hydration Dynamics (Capillary Action)
Water does not simply flow downward. In the micro-environment of a plant pot, capillary action often overcomes gravity.
The Perched Water Table (PWT): No matter how much drainage you place at the bottom of a container, the lowest contiguous section of soil will always remain identically saturated. This is physics. If you put 3 inches of rocks at the bottom of a pot, you do not improve drainage; you merely push the soggy PWT three inches higher into the root mass, radically increasing the risk of Pythium (root rot). This is why nursery pots with numerous drainage holes placed directly on a porous surface are the only empirically sound container choice.
Part 4: The Pathogen War (Fungal vs Bacterial)
When a plant fails, the visual symptom (yellowing, dropping leaves) is merely the final stage of a prolonged microscopic war.
Anaerobic Pathogens
When a soil is over-hydrated, oxygen molecules are physically displaced by water molecules. Roots require oxygen to respire. As roots suffocate, the cells burst and die. This dead tissue becomes an immediate food source for anaerobic bacteria—bacteria that thrive strictly in zero-oxygen environments. The bacteria consume the dead roots, creating a sulfurous, rotting odor. To combat this, elite growers use Hydrogen Peroxide (H2O2) drenches. The extra, highly unstable oxygen atom in H2O2 detonates on contact, forcefully oxidating the anaerobic bacteria and re-oxygenating the root zone.
Part 5: Comprehensive Houseplant Glossary of Terms
To ensure absolute clarity for our readers, we have compiled an exhaustive glossary of the terms heavily utilized within the professional botanical sphere:
- Aroid: A common name for plants in the Araceae family, characterized by a spathe and spadix inflorescence (e.g., Philodendrons, Monsteras).
- Chlorosis: The yellowing of leaf tissue due to a lack of chlorophyll, often caused by nutrient deficiencies or root suffocation.
- Etiolation: The stretching and weakening of stems as a plant aggressively reaches toward a distant light source.
- Fenestration: The natural occurrence of holes or deep splits in the leaves of mature plants, designed to allow wind and light to pass through to the lower canopy.
- Node: The vital junction on a stem where leaves, aerial roots, and new growth points (eyes) emerge. A cutting without a node will never grow a new plant.
- Variegation: A genetic (chimeric) or viral mutation resulting in distinct zones of differently colored tissue (typically white or yellow) due to an absence of chlorophyll in those areas.
- Transpiration: The biological process by which a plant absorbs water through its roots and subsequently releases it as vapor through micro-pores (stomata) on its leaves.
Conclusion: The 2026 Shift in Plant Ownership
The era of buying a plant and hoping for the best is over. Modern houseplant ownership requires a foundational understanding of physics, chemistry, and biology. By tracking your PPFD, balancing your soil’s CEC, and actively managing the Perched Water Table, you ensure your indoor jungle moves from simple survival to massive, aggressive growth.
Frequently Asked Questions
What are the best conditions for this plant?
Most houseplants thrive in bright, indirect light with temperatures between 65-80F (18-27C). Ensure good drainage and water when the top inch of soil feels dry.
How often should I water?
Watering frequency depends on the plant species, pot size, and environment. A general rule is to check the soil moisture before watering. Overwatering is the most common cause of houseplant death.
What soil mix works best?
A well-draining mix of peat moss, perlite, and orchid bark works well for most tropical houseplants. Succulents prefer a grittier mix with more sand and perlite.
Quick Care Reference
| Factor | Requirement | Notes |
|---|---|---|
| Light | Bright indirect | Avoid direct afternoon sun |
| Water | When top inch dry | Reduce in winter |
| Humidity | 50-70% | Mist or use pebble tray |
| Temperature | 65-80F (18-27C) | Avoid cold drafts |
| Soil | Well-draining mix | Peat, perlite, bark |
| Fertilizer | Monthly (spring-summer) | Half-strength balanced |
Pro Tips for Mastering Self-Watering Systems (2026 Insights)
Beyond the basics, truly optimizing self-watering pots requires a nuanced understanding of botany, hydrodynamics, and plant physiology. Here are advanced, experience-based insights from a seasoned botanist:
1. Substrate Specificity & Capillary Action Engineering
Do not treat all potting mixes equally in self-watering systems. For optimal performance, the substrate must be engineered for its specific capillary needs. While a fine-textured mix might wick water efficiently, it can also lead to anaerobic conditions at the root zone. Conversely, an overly coarse mix may fail to wick sufficient moisture. The key is to create a ‘capillary break’ or ‘transition zone’ if using a multi-layered substrate – for example, a layer of coarser perlite or LECA at the bottom, transitioning to a more moisture-retentive mix above. This prevents the entire pot from becoming saturated and ensures adequate aeration. Experiment with blends of coco coir (for wicking), perlite/pumice (for aeration), and a small percentage of worm castings (for microbial activity) tailored to your plant’s specific moisture preference and the design of your self-watering reservoir system.
2. Dynamic Nutrient Delivery & Salt Accumulation Mitigation
Self-watering pots, by their nature, can lead to a phenomenon known as ‘reverse osmosis’ where water evaporates from the top, leaving behind mineral salts. This can result in toxic salt buildup at the soil surface and within the root zone, hindering nutrient uptake and causing root burn. To combat this, implement a dynamic fertilization strategy:
- Periodic Top-Water Flushing: Every 4-6 weeks, completely flush the pot by top-watering with plain, pH-balanced water until significant runoff occurs from the bottom overflow or wicking system. This leaches accumulated salts.
- Chelated Nutrients & Lower EC: Opt for high-quality, chelated liquid fertilizers at a lower Electrical Conductivity (EC) than you might use for traditional top-watering. This reduces the concentration of mineral salts introduced into the system.
- Scheduled Dry-Out Periods: For plants that tolerate it, allow the reservoir to completely dry out for 1-3 days before refilling. This provides a crucial oxygenation period for the roots and can help mitigate anaerobic conditions that encourage root rot.
3. Integrated Pest Management (IPM) in Closed-Loop Systems
The consistent moisture provided by self-watering pots can inadvertently create ideal breeding grounds for certain pests, most notably fungus gnats and root mealybugs. An advanced IPM strategy is crucial:
- Beneficial Nematodes: Proactively introduce Steinernema feltiae nematodes into the reservoir or topsoil. These microscopic worms are natural predators of fungus gnat larvae.
- Strategic Top Dressing: Apply a 1-inch layer of decorative gravel, sand, or diatomaceous earth to the top of the substrate. This creates a physical barrier that prevents adult fungus gnats from laying eggs in the moist soil surface and can desiccate larvae.
- Systemic Pest Control (Cautious Use): For persistent issues like root mealybugs, consider systemic insecticides *only* if absolutely necessary and always follow label instructions precisely, understanding that these can impact beneficial organisms. Monitor your plants diligently for early signs of infestation rather than reacting to an outbreak.
Frequently Asked Questions About Self-Watering Pots
How often should I refill the reservoir of a self-watering pot, and does it vary by plant type?
The refill frequency for a self-watering pot’s reservoir is highly variable and depends on several factors: plant species, pot size, environmental conditions (temperature, humidity, light exposure), and the type of substrate. Fast-growing, thirsty plants like ferns or certain annuals in bright, warm conditions might deplete a reservoir in just a few days. Succulents or cacti, conversely, may only need a refill every few weeks. A good practice is to monitor the reservoir level daily for the first week after planting to establish a baseline. Observe your specific plant’s wilting cues, and allow the reservoir to nearly empty before refilling to encourage some root oxygenation. For optimal plant health, never let the reservoir remain empty for extended periods unless the plant explicitly requires a dry period.
Can self-watering pots lead to root rot, and how can I prevent it?
Yes, self-watering pots can indeed lead to root rot if not managed correctly, primarily due to prolonged saturation of the root zone, which deprives roots of oxygen. Prevention is multifaceted: 1. Proper Substrate Choice: Use a well-draining, airy potting mix specifically formulated for self-watering systems, often containing perlite, pumice, or coco coir to ensure adequate aeration even when moist. Avoid heavy, dense soils. 2. Allow for Dry Periods: For most plants, allowing the reservoir to completely dry out for a day or two before refilling can be beneficial, providing a crucial oxygenation cycle for the roots. 3. Adequate Drainage/Overflow: Ensure the pot’s design includes an overflow mechanism in the reservoir to prevent the plant from sitting in stagnant, excessively deep water. 4. Avoid Over-fertilization: Excess salts from over-fertilization can stress roots, making them more susceptible to rot. Use diluted fertilizers in the reservoir or top-water occasionally to flush salts.
What are the advanced considerations for fertilizing plants in self-watering systems?
Fertilizing in self-watering systems requires a delicate balance to prevent salt buildup and nutrient lockout. Advanced considerations include: 1. Diluted Liquid Fertilizers: Always use a liquid fertilizer at half or even quarter strength compared to traditional top-watering recommendations. Apply it directly to the reservoir. 2. Periodic Top-Water Flushing: Every 4-6 weeks, top-water the plant thoroughly with plain, pH-balanced water until a significant amount drains from the bottom. This flushes accumulated mineral salts that can build up due to evaporation and cause nutrient imbalances or root burn. 3. Chelated Nutrients: Opt for fertilizers containing chelated micronutrients, which are more readily available to plants even in varying pH conditions caused by salt accumulation. 4. Consider Slow-Release Granules (Top Layer Only): For plants requiring consistent feeding, a small amount of slow-release fertilizer can be incorporated into the top inch of the potting mix, rather than the reservoir. This ensures nutrients are released gradually and are less prone to accumulating in the water reservoir. 5. Monitor EC/TDS: For advanced users, regularly monitoring the Electrical Conductivity (EC) or Total Dissolved Solids (TDS) of the water in the reservoir can provide precise insights into nutrient levels, allowing for highly tailored fertilization.