

Orchid Care Catastrophes: Avoid These Beginner Blunders!
Orchids, with their exotic beauty and captivating blooms, often intimidate novice plant parents. While they might seem finicky, orchids are surprisingly resilient when given the right care. However, many beginners fall prey to common mistakes that can hinder growth and prevent flowering. This comprehensive guide will equip you with the knowledge to avoid these pitfalls and cultivate thriving orchids in your home.
Understanding the Orchid Mystique
Before diving into the common errors, it’s crucial to understand that orchids are not like typical houseplants. Most orchids sold for indoor cultivation are epiphytes, meaning they grow on other plants (usually trees) in their natural habitat. Their roots are designed to cling to surfaces and absorb moisture and nutrients from the air and rainwater, not from soil. Understanding this fundamental difference is the key to providing proper care.
Common Orchid Care Mistakes and How to Fix Them
1. Overwatering: The Number One Orchid Killer
Overwatering is, without a doubt, the most frequent cause of orchid demise. Unlike plants that thrive in consistently moist soil, orchids require their roots to dry out almost completely between waterings. Soggy roots deprive them of oxygen, leading to root rot, a fungal infection that can quickly kill your orchid.
Signs of Overwatering:
- Yellowing or browning leaves
- Soft, mushy roots (healthy roots are firm and silvery-white or green)
- A foul odor emanating from the potting mix
How to Correct Overwatering:
- Assess the damage: Gently remove the orchid from its pot and examine the roots. Cut away any mushy, brown, or black roots with sterilized scissors or pruning shears.
- Repot in fresh media: Use a well-draining orchid potting mix, such as a bark-based mix or sphagnum moss. Avoid regular potting soil, which retains too much moisture.
- Improve drainage: Ensure your orchid pot has adequate drainage holes. Consider using a clear plastic pot inside a decorative pot to allow for better airflow around the roots.
- Adjust watering schedule: Water only when the potting mix is almost completely dry. A moisture meter can be a valuable tool for determining soil moisture levels.
2. Underwatering: Letting Your Orchid Dehydrate
While overwatering is more common, underwatering can also stress your orchid. While orchids don’t like to sit in water, they still need adequate hydration, especially during active growth periods.
Signs of Underwatering:
- Wrinkled or shriveled leaves
- Dry, brittle roots
- Stunted growth
How to Correct Underwatering:
- Adjust watering schedule: Increase the frequency of watering, but still allow the potting mix to dry out slightly between waterings.
- Improve humidity: Orchids thrive in humid environments. Increase humidity by placing your orchid on a pebble tray filled with water (ensure the pot doesn’t sit directly in the water), using a humidifier, or grouping orchids together.
- Soak the roots: If the roots are severely dehydrated, soak the root ball in water for 15-20 minutes to rehydrate them.
3. Insufficient Light: Starving Your Orchid of Energy
Orchids need bright, indirect light to thrive and bloom. Insufficient light is a common reason why orchids fail to flower. Different orchid species have varying light requirements, but generally, east- or west-facing windows provide the best light.
Signs of Insufficient Light:
- Dark green, leathery leaves
- Lack of flowering
- Leggy growth (long, stretched stems)
How to Correct Insufficient Light:
- Relocate your orchid: Move your orchid to a brighter location, such as a window with more light exposure. Avoid direct sunlight, which can scorch the leaves.
- Use supplemental lighting: If natural light is limited, consider using a grow light. LED grow lights are energy-efficient and provide the full spectrum of light that orchids need.
- Observe your orchid: Monitor your orchid’s response to the increased light. If the leaves start to turn yellow or develop brown spots, reduce the light intensity.
4. Incorrect Potting Mix: Suffocating the Roots
As mentioned earlier, orchids are epiphytes and require a well-draining potting mix that allows air to circulate around their roots. Regular potting soil retains too much moisture and can lead to root rot. Using the wrong potting mix is a surefire way to hinder your orchid’s growth.
How to Correct Incorrect Potting Mix:
- Repot your orchid: Remove the orchid from its current pot and gently remove as much of the old potting mix as possible.
- Choose the right potting mix: Use a well-draining orchid potting mix, such as a bark-based mix, sphagnum moss, or a combination of both. You can find specialized orchid potting mixes online or at your local garden center.
- Repot carefully: Gently place the orchid in the new pot and fill in around the roots with the potting mix. Avoid packing the mix too tightly.
5. Neglecting Fertilization: Depriving Your Orchid of Nutrients
Orchids, like all plants, need nutrients to grow and bloom. However, they are not heavy feeders and require a balanced fertilizer diluted to half or quarter strength. Over-fertilizing can damage the roots.
How to Correct Neglecting Fertilization:
- Choose the right fertilizer: Use a balanced orchid fertilizer with an N-P-K ratio of 20-20-20 or similar.
- Dilute the fertilizer: Dilute the fertilizer to half or quarter strength according to the package instructions.
- Fertilize regularly: Fertilize your orchid every 2-4 weeks during the growing season (spring and summer). Reduce or stop fertilizing during the dormant season (fall and winter).
- Flush the potting mix: Every few months, flush the potting mix with plain water to remove any accumulated salts from the fertilizer.
6. Ignoring Temperature and Humidity: Creating an Unfavorable Environment
Orchids prefer moderate temperatures and high humidity. Sudden temperature fluctuations or excessively dry air can stress your orchid and prevent flowering.
How to Correct Unfavorable Temperature and Humidity:
- Maintain consistent temperatures: Avoid placing your orchid near drafts, heating vents, or air conditioning units.
- Increase humidity: Use a pebble tray filled with water, a humidifier, or group orchids together to increase humidity.
- Monitor temperature and humidity: Use a thermometer and hygrometer to monitor the temperature and humidity levels in your orchid’s environment.
7. Failing to Provide Air Circulation: Stagnant Air and Disease
Good air circulation is essential for preventing fungal diseases and promoting healthy growth. Stagnant air can create a breeding ground for pathogens.
How to Correct Failing to Provide Air Circulation:
- Provide adequate spacing: Ensure that your orchid has enough space around it to allow for good air circulation.
- Use a fan: A small fan can help to circulate air around your orchid.
- Ventilate the area: Open windows or use a ventilation system to improve air circulation in the room.
8. Improper Repotting: Damaging the Roots
Repotting is necessary to refresh the potting mix and provide more room for the roots to grow. However, improper repotting can damage the roots and stress the orchid.
How to Correct Improper Repotting:
- Repot at the right time: Repot your orchid after it has finished flowering or when the potting mix is starting to decompose.
- Use the correct pot size: Choose a pot that is only slightly larger than the previous pot.
- Handle the roots carefully: Gently remove the orchid from its old pot and carefully remove as much of the old potting mix as possible. Avoid damaging the roots.
- Use fresh potting mix: Use a well-draining orchid potting mix.
- Water thoroughly: Water the orchid thoroughly after repotting.
9. Pest Infestations: Uninvited Guests
Orchids can be susceptible to pests such as mealybugs, scale, and spider mites. These pests can suck the sap from the leaves and stems, weakening the orchid and preventing flowering.
How to Correct Pest Infestations:
- Inspect your orchid regularly: Check your orchid regularly for signs of pests.
- Isolate infested plants: If you find pests, isolate the infested plant to prevent them from spreading to other plants.
- Treat the infestation: Use insecticidal soap, neem oil, or other appropriate pesticides to treat the infestation.
- Clean the leaves: Wipe the leaves with a damp cloth to remove any remaining pests or residue.
10. Impatience: Orchids Take Time
Orchids are not fast-growing plants. It can take several months or even years for them to bloom. Patience is key to successful orchid care.
How to Cultivate Patience:
- Focus on proper care: Provide your orchid with the right light, water, and nutrients.
- Observe your orchid: Pay attention to your orchid’s growth and development.
- Enjoy the process: Appreciate the beauty of your orchid, even when it is not in bloom.
Choosing the Right Orchid for You
Different types of orchids have slightly different care requirements. Understanding the specific needs of your orchid is essential for its success. Here’s a comparison of some popular orchid varieties:
| Orchid Variety | Light Requirements | Watering Frequency | Humidity Requirements | Temperature Range |
|---|---|---|---|---|
| Phalaenopsis (Moth Orchid) | Bright, indirect light | Once every 1-2 weeks | 50-70% | 65-80°F (18-27°C) |
| Cattleya | Bright, direct light (morning sun) | Once a week | 50-70% | 60-85°F (15-29°C) |
| Dendrobium | Bright, indirect light | Once every 1-2 weeks | 50-70% | 65-85°F (18-29°C) |
| Oncidium | Bright, indirect light | Once a week | 50-70% | 60-80°F (15-27°C) |
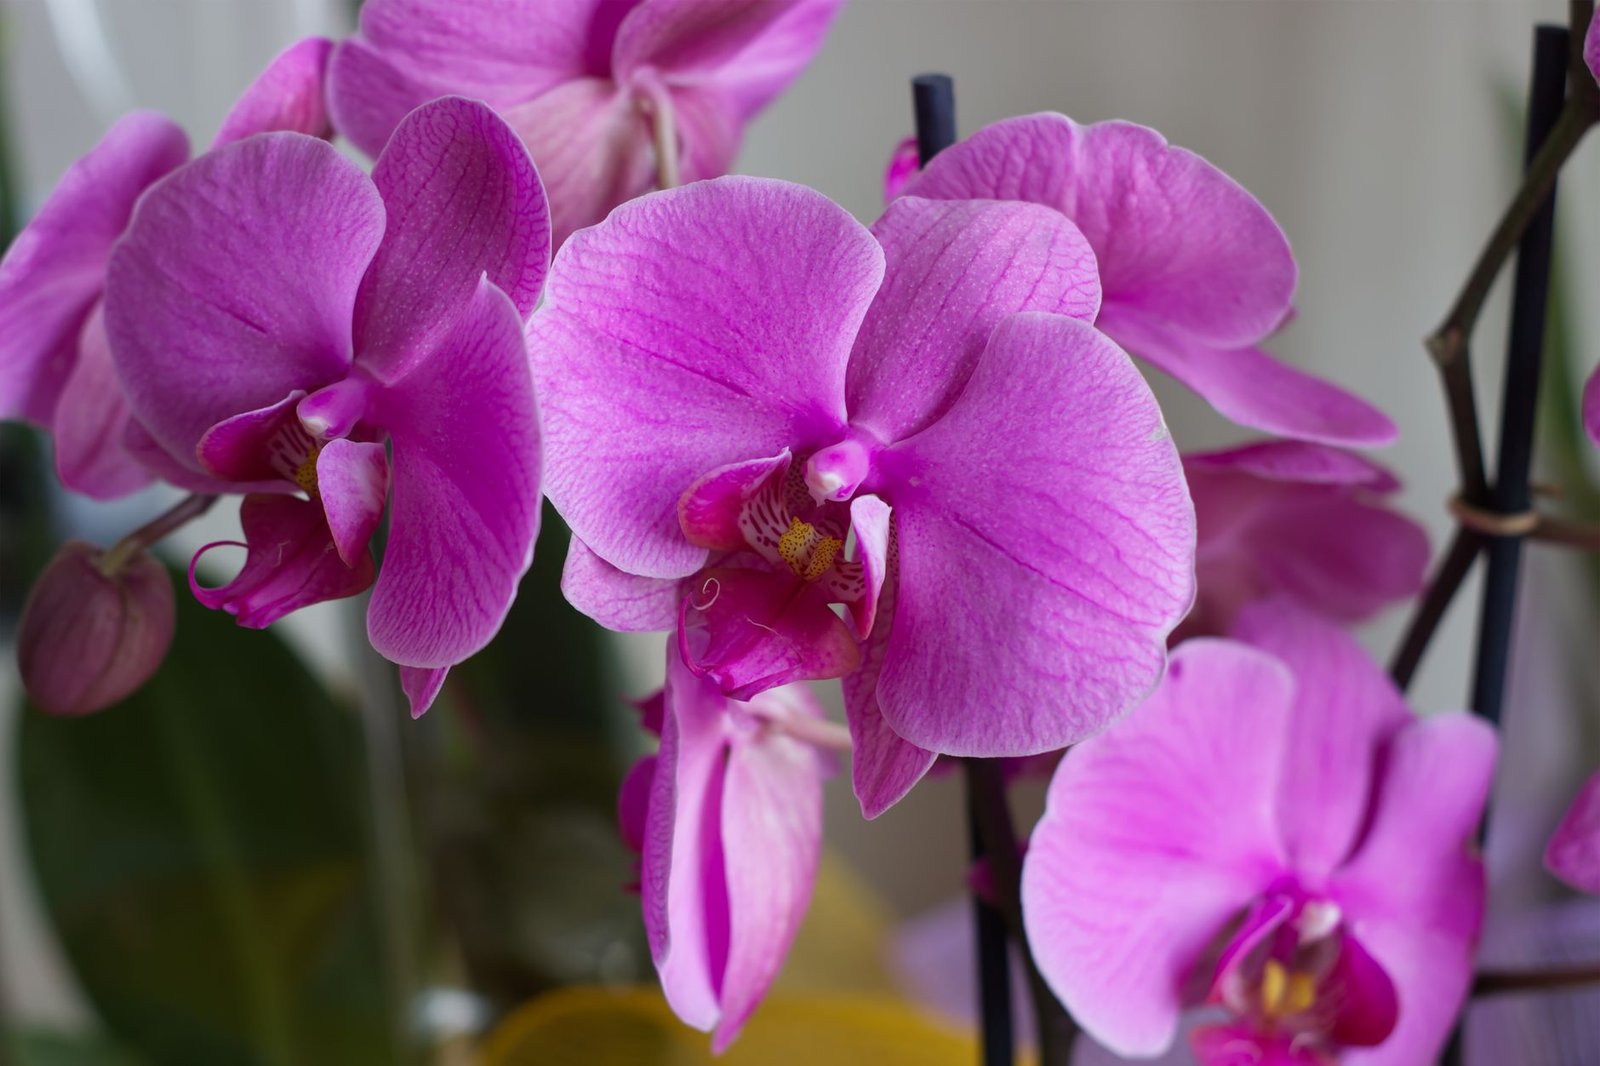
For beginners, the Phalaenopsis orchid is often recommended due to its relative ease of care and readily available information. However, with proper knowledge and attention, you can successfully cultivate a variety of orchid species.
Mastering orchid care takes time and observation. By avoiding these common mistakes, you’ll be well on your way to enjoying the breathtaking beauty of these fascinating plants. Remember to adjust your care routine based on your specific orchid variety and growing environment. With patience and dedication, you can unlock the secrets to thriving orchids and transform your home into a tropical paradise. Consider exploring resources like the American Orchid Society for more in-depth information and support. You can also find a variety of orchid pots on Amazon.
Frequently Asked Questions (FAQ)
How often should I water my orchid?
Watering frequency depends on several factors, including the orchid species, potting mix, and environmental conditions. Generally, water when the potting mix is almost completely dry. Use your finger or a moisture meter to check the moisture level.
What kind of light do orchids need?
Most orchids need bright, indirect light. Avoid direct sunlight, which can scorch the leaves. East- or west-facing windows are typically ideal. If natural light is limited, use a grow light.
Why is my orchid not blooming?
Lack of blooming can be caused by several factors, including insufficient light, improper watering, lack of fertilization, or temperature fluctuations. Ensure your orchid is receiving the proper care and be patient.
How do I repot an orchid?
Repot your orchid after it has finished flowering or when the potting mix is starting to decompose. Use a well-draining orchid potting mix and choose a pot that is only slightly larger than the previous pot. Handle the roots carefully and water thoroughly after repotting.
What are those aerial roots on my orchid?
Aerial roots are a natural part of an orchid’s growth. They help the orchid to absorb moisture and nutrients from the air. Do not cut them off unless they are dead or diseased.