
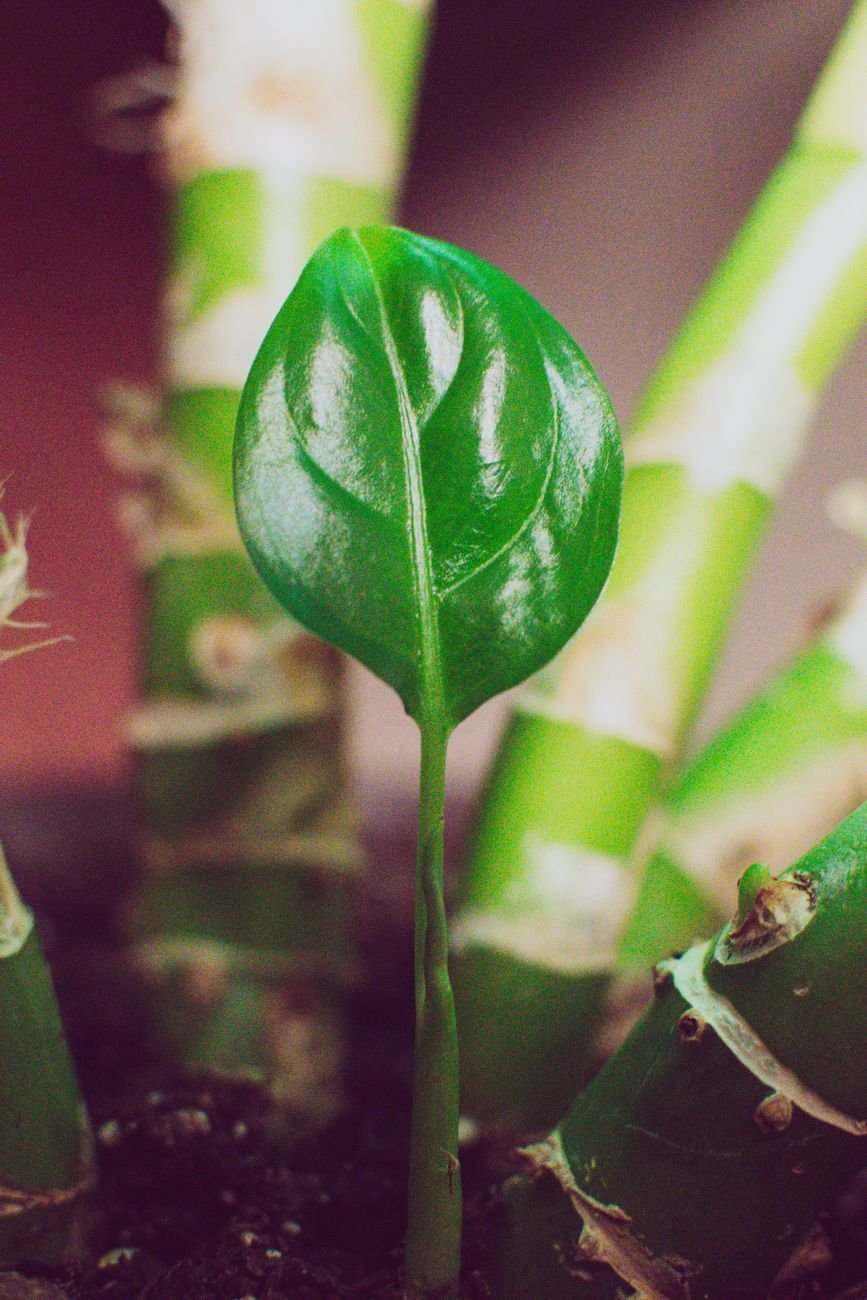

The Remarkable ZZ Plant: A Beginner’s Delight
The ZZ plant, scientifically known as Zamioculcas zamiifolia, is a true champion of low-maintenance houseplants. Its glossy, dark green leaves and upright growth habit add a touch of elegance to any indoor space. Native to East Africa, this resilient plant has adapted to thrive in conditions that would challenge most other houseplants, making it a perfect choice for beginners and busy plant parents alike. This comprehensive guide will provide you with everything you need to know to keep your ZZ plant happy and healthy for years to come.
Why Choose a ZZ Plant?
- Low-Maintenance: ZZ plants are incredibly tolerant of neglect, making them ideal for beginners or those with busy schedules.
- Air Purifying: Like many houseplants, ZZ plants help to purify the air by removing toxins.
- Drought-Tolerant: They can withstand long periods without water.
- Adaptable: ZZ plants tolerate a wide range of light conditions, from bright indirect light to low light.
- Aesthetically Pleasing: Their striking foliage adds a touch of modern elegance to any room.
ZZ Plant Care Basics
While ZZ plants are forgiving, providing them with the right conditions will ensure they thrive. Let’s dive into the essential aspects of ZZ plant care:
Watering: The Key to Success
Overwatering is the most common mistake people make with ZZ plants. These plants store water in their rhizomes (underground stems), allowing them to withstand drought. The key is to let the soil dry out completely between waterings. A soil moisture meter can be incredibly helpful in determining when your plant needs water.
- Check the Soil: Insert your finger or a moisture meter into the soil. If the top inch or two feels dry, it’s time to water.
- Water Thoroughly: Water the plant until water drains out of the drainage holes at the bottom of the pot.
- Drain Excess Water: Allow the pot to drain completely. Do not let the plant sit in standing water, as this can lead to root rot.
- Frequency: Watering frequency will vary depending on the environment. In general, water every 2-4 weeks, or even less frequently in the winter.
Light Requirements: Adaptable to Various Conditions
ZZ plants are incredibly adaptable to different light conditions. They can tolerate low light, but they will grow best in bright, indirect light. Avoid direct sunlight, which can scorch the leaves. A spot near a north-facing window is often ideal.
- Bright Indirect Light: Provides the best growth and vibrant color.
- Low Light: ZZ plants can survive in low light, but growth will be slower.
- Direct Sunlight: Avoid direct sunlight, especially during the hottest part of the day. If you only have a sunny window, consider using sheer curtains to filter the light, or place the plant further away from the window. If your space lacks sufficient natural light, a grow light can supplement the lighting.
Soil and Potting: Well-Draining is Essential
ZZ plants need well-draining soil to prevent root rot. A cactus or succulent mix is ideal, as it provides excellent drainage. You can also create your own mix by combining potting soil with perlite and sand.
Choose a pot with drainage holes to allow excess water to escape. Terracotta pots are a good choice, as they help the soil dry out more quickly. When repotting, choose a pot that is only slightly larger than the previous one. Repotting is typically only needed every 2-3 years, or when the plant becomes root-bound. Consider a stylish modern plant pot to showcase your ZZ plant.
Temperature and Humidity: Average Room Conditions are Fine
ZZ plants thrive in average room temperatures between 65°F and 75°F (18°C and 24°C). They can tolerate slightly cooler temperatures, but avoid exposing them to temperatures below 50°F (10°C). ZZ plants are not particularly sensitive to humidity levels, so average household humidity is usually sufficient.
Fertilizing: Less is More
ZZ plants are not heavy feeders, so fertilizing is not essential. However, you can fertilize them occasionally during the growing season (spring and summer) to promote growth. Use a balanced liquid fertilizer diluted to half strength. Avoid fertilizing during the dormant season (fall and winter).
Troubleshooting Common ZZ Plant Problems
Even though ZZ plants are relatively easy to care for, they can still encounter problems. Here’s how to troubleshoot some common issues:
Yellowing Leaves
Yellowing leaves are often a sign of overwatering. Allow the soil to dry out completely between waterings. If the soil is consistently wet, consider repotting the plant into fresh, well-draining soil. Yellowing can also indicate insufficient light, so consider moving your plant to a brighter location.
Drooping Leaves
Drooping leaves can be caused by either overwatering or underwatering. Check the soil moisture to determine the cause. If the soil is dry, water the plant thoroughly. If the soil is wet, allow it to dry out completely before watering again.
Brown Leaf Tips
Brown leaf tips are often a sign of dry air or inconsistent watering. While ZZ plants tolerate low humidity, they may benefit from occasional misting. Ensure consistent watering habits, allowing the soil to dry out completely between waterings.
Root Rot
Root rot is a serious problem caused by overwatering. If you suspect root rot, carefully remove the plant from the pot and inspect the roots. Healthy roots are firm and white, while rotten roots are mushy and brown. Trim away any rotten roots and repot the plant into fresh, well-draining soil. Consider using a fungicide.
Pests
ZZ plants are relatively pest-resistant, but they can occasionally be infested with mealybugs or scale. Inspect your plant regularly for signs of pests. If you find any, treat them with insecticidal soap or neem oil. Use a cotton swab dipped in rubbing alcohol to gently remove individual pests.
ZZ Plant Propagation: Expanding Your Collection
ZZ plants can be easily propagated from leaf cuttings or rhizome division. Here’s how to propagate them:
Leaf Cuttings
- Take a Cutting: Cut a healthy leaf from the plant.
- Callus Formation: Allow the cut end of the leaf to callus over for a few days.
- Plant the Cutting: Plant the callused end of the leaf in moist potting soil.
- Provide Humidity: Cover the cutting with a plastic bag or humidity dome to create a humid environment.
- Wait Patiently: It can take several months for the cutting to root and develop a new rhizome.
Rhizome Division
- Remove the Plant: Carefully remove the plant from the pot.
- Divide the Rhizomes: Gently separate the rhizomes, ensuring that each division has roots and leaves.
- Pot the Divisions: Pot each division into its own pot with fresh, well-draining soil.
- Water Thoroughly: Water the newly potted divisions thoroughly.
ZZ Plant Varieties
While the standard ZZ plant is the most common variety, there are a few other cultivars that you might encounter:
- Raven ZZ: This variety features striking dark purple to black foliage.
- Variegated ZZ: This variety has leaves with streaks of yellow or white.
- Dwarf ZZ: A smaller, more compact version of the standard ZZ plant.
Comparing ZZ Plant Varieties
| Variety | Leaf Color | Size | Light Needs |
|---|---|---|---|
| Standard ZZ | Dark Green | 2-4 feet tall | Bright Indirect to Low Light |
| Raven ZZ | Dark Purple/Black | 2-4 feet tall | Bright Indirect to Low Light |
| Variegated ZZ | Green with Yellow/White Streaks | 2-4 feet tall | Bright Indirect Light |
| Dwarf ZZ | Dark Green | 1-2 feet tall | Bright Indirect to Low Light |
Consider exploring other low-maintenance options like the Snake Plant for a similar easy-care experience. You can also learn about proper houseplant fertilizing to optimize the health of all your indoor plants.
ZZ Plants vs. Snake Plants: A Quick Comparison
Both ZZ plants and Snake Plants are known for being incredibly low-maintenance. Here’s a quick comparison:
- Appearance: ZZ plants have oval-shaped leaves that grow along stems, while snake plants have upright, sword-like leaves.
- Light: Both tolerate low light, but snake plants often prefer slightly brighter conditions.
- Watering: Both are drought-tolerant and susceptible to overwatering, but snake plants may need even less water than ZZ plants.
Houseplant Fertilizing Best Practices
While ZZ plants don’t need a lot of fertilizer, here are some general best practices for fertilizing your indoor plants:
- Use a Balanced Fertilizer: Choose a fertilizer with equal parts nitrogen, phosphorus, and potassium.
- Dilute the Fertilizer: Always dilute the fertilizer to half strength to avoid burning the roots.
- Fertilize During the Growing Season: Fertilize your plants during the spring and summer months, when they are actively growing.
- Avoid Over-Fertilizing: Over-fertilizing can be more harmful than not fertilizing at all.
Conclusion: Enjoy Your Thriving ZZ Plant!
With its ease of care and striking appearance, the ZZ plant is a fantastic addition to any indoor plant collection. By following the tips in this guide, you can enjoy a thriving ZZ plant for years to come. Remember to water sparingly, provide adequate light, and use well-draining soil. Happy growing!
FAQ
How often should I water my ZZ plant?
Water your ZZ plant only when the soil is completely dry. This could be every 2-4 weeks, or even less frequently in the winter. Use a moisture meter to be sure.
What kind of light does a ZZ plant need?
ZZ plants can tolerate low light, but they will grow best in bright, indirect light. Avoid direct sunlight, which can scorch the leaves.
What kind of soil should I use for my ZZ plant?
Use well-draining soil, such as a cactus or succulent mix. You can also create your own mix by combining potting soil with perlite and sand.
Is the ZZ plant toxic to pets?
Yes, ZZ plants are toxic to pets if ingested. Keep them out of reach of cats and dogs.
Why are the leaves of my ZZ plant turning yellow?
Yellowing leaves are often a sign of overwatering. Allow the soil to dry out completely between waterings. It can also indicate insufficient light.
How do I propagate a ZZ plant?
ZZ plants can be propagated from leaf cuttings or rhizome division.
Why are the stems of my ZZ plant wrinkling?
Wrinkling stems usually indicate underwatering. Make sure to thoroughly soak the soil when you do water, allowing excess to drain away. Check the soil moisture regularly to prevent this issue.